New User Guide
This step-by-step guide walks you through your first session with Forja: signing in, creating a site, adding languages, configuring settings, and publishing your first blog post.
Step 1: Sign In
Navigate to your dashboard URL (e.g., http://localhost:5173/dashboard in development). You will see the Clerk login screen.
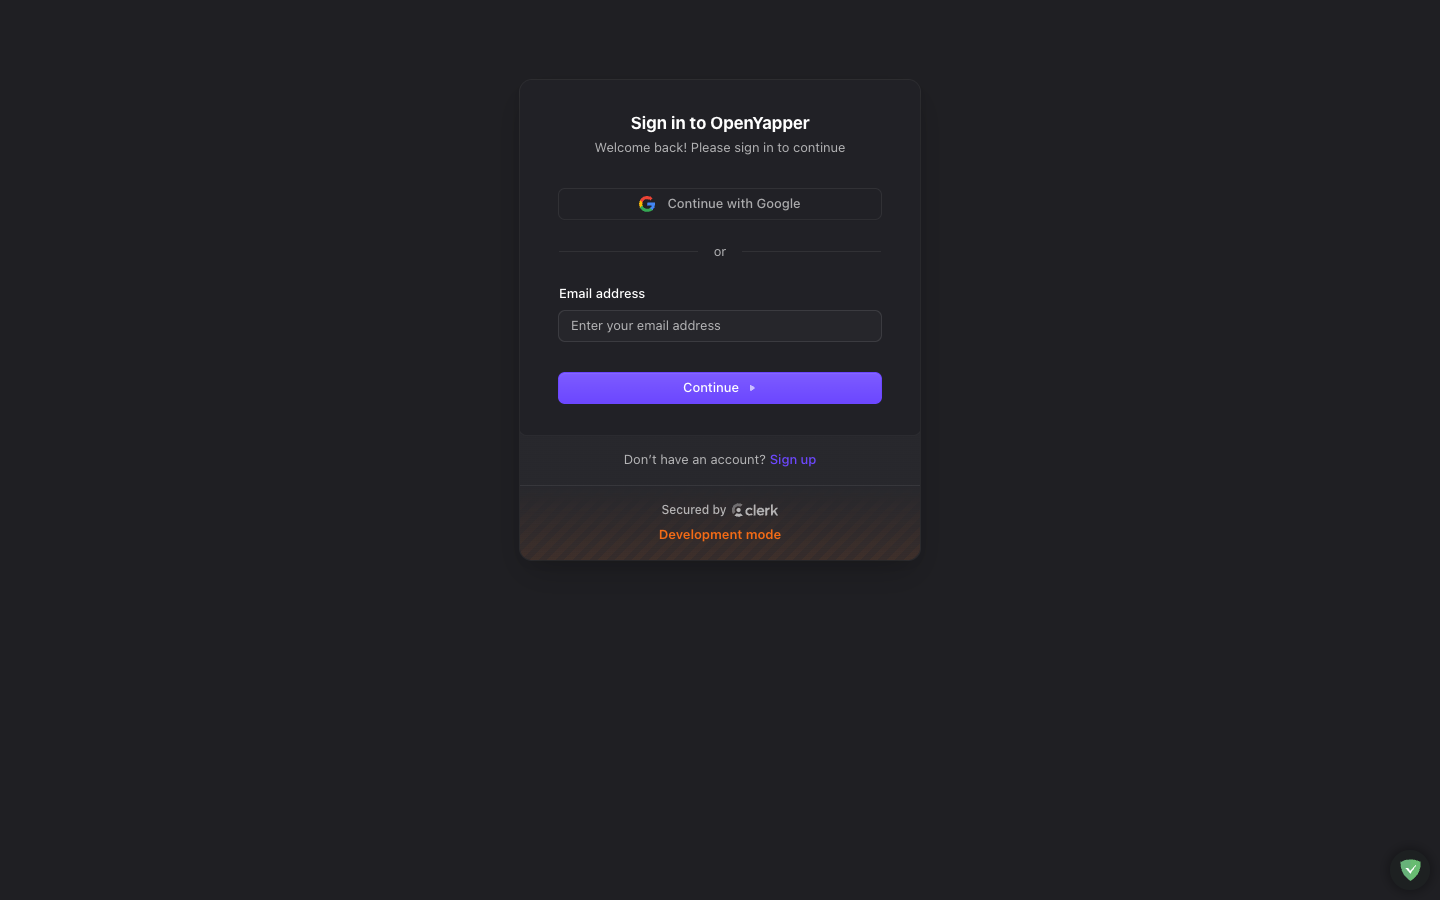
Enter your email address, click Continue, then enter your password and click Continue again. After successful authentication, you are redirected to the dashboard.
If this is your first time signing in and you were not pre-configured as a system admin, you will need to be added as a member to an existing site, or create your own site (if you have sufficient permissions).
Step 2: Explore the Welcome Screen
As a new user with no sites, you will see the Welcome to Forja landing page. This page introduces the key capabilities of the CMS: multi-site management, multilingual content, and the API-first architecture.
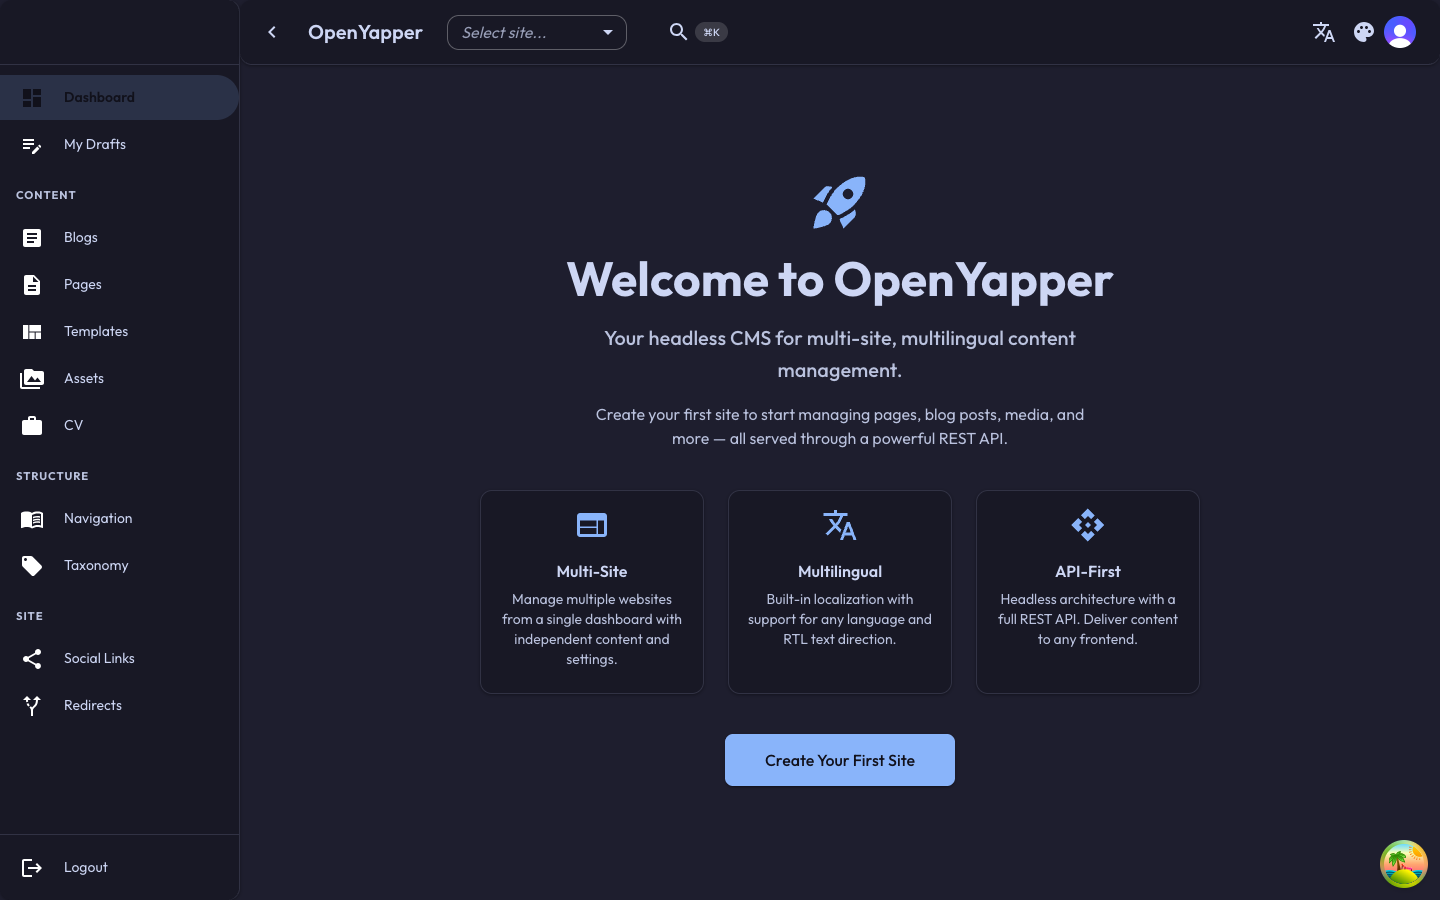
Click Create Your First Site to get started, or navigate to Sites in the sidebar.
Step 3: Create Your First Site
If you navigate to the Sites page before creating a site, you will see the empty state with a prompt to create one.
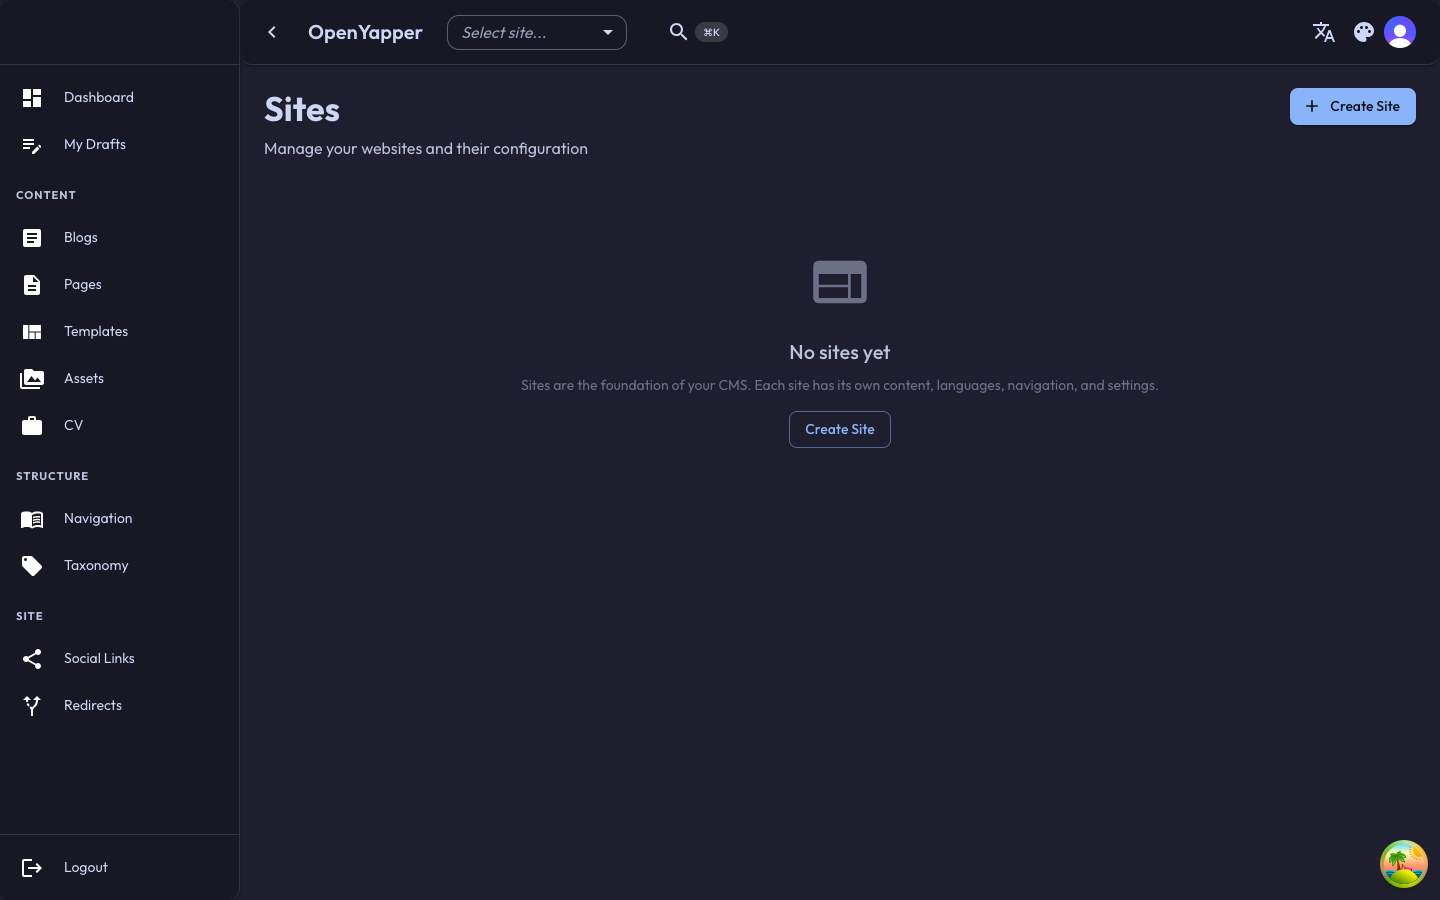
Click + Create Site in the top right (or the Create Site button in the center). A dialog appears with the following fields:
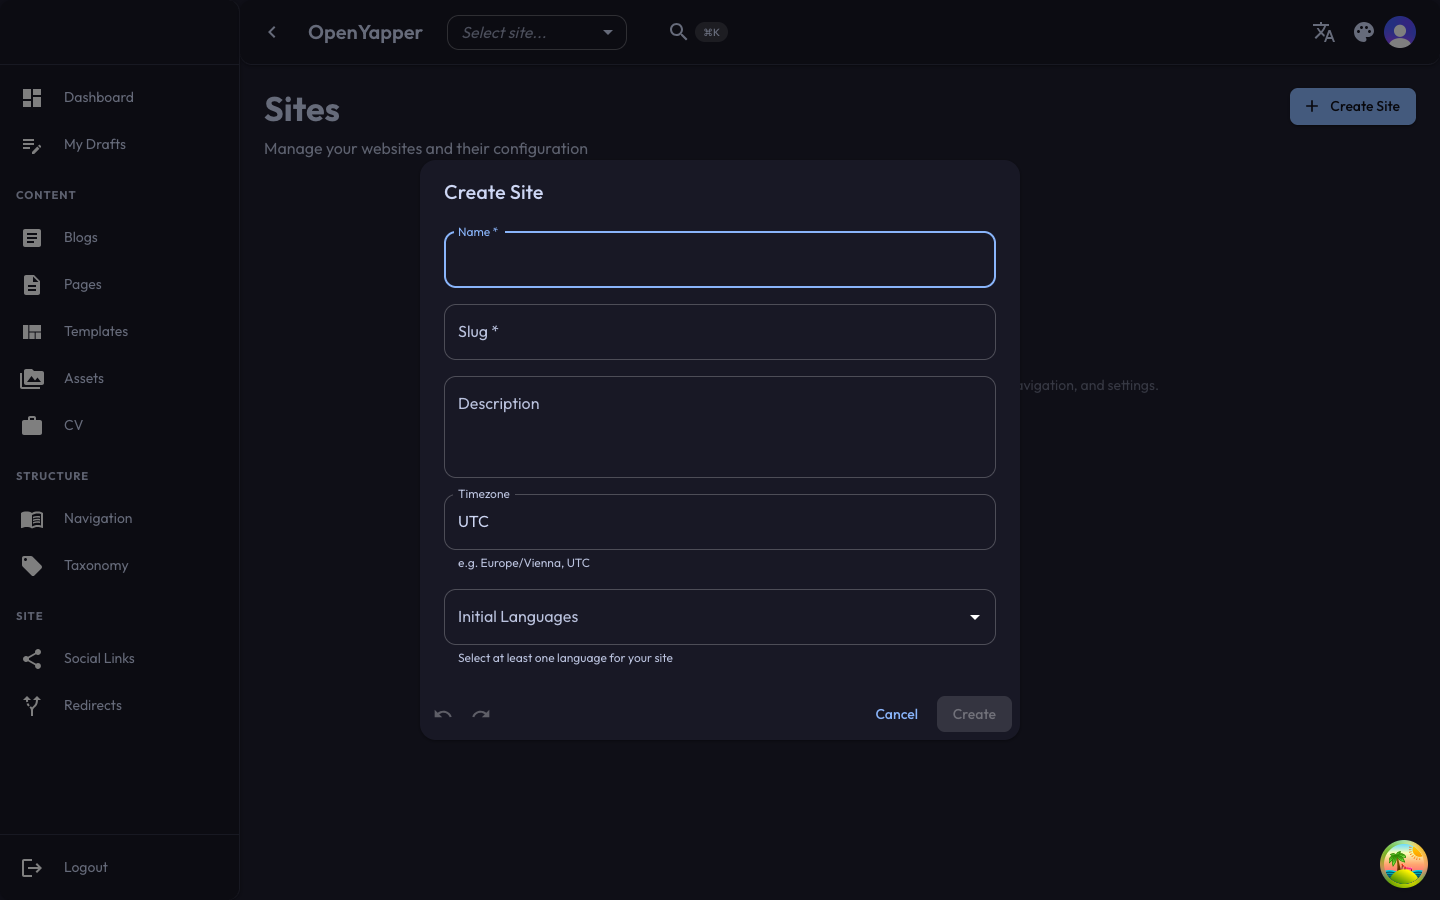
Fill in the details:
| Field | Description | Example |
|---|---|---|
| Name | A human-readable name for your site | My Portfolio |
| Slug | A URL-friendly identifier used in API paths | my-portfolio |
| Description | A brief description of what the site is about | Personal portfolio and blog |
| Timezone | The timezone for date/time display | Europe/Vienna |
| Initial Languages | Select at least one language for your site | English (en) |
Click Create to save. Your site now appears in the sites list and is automatically selected in the site selector dropdown in the top bar.
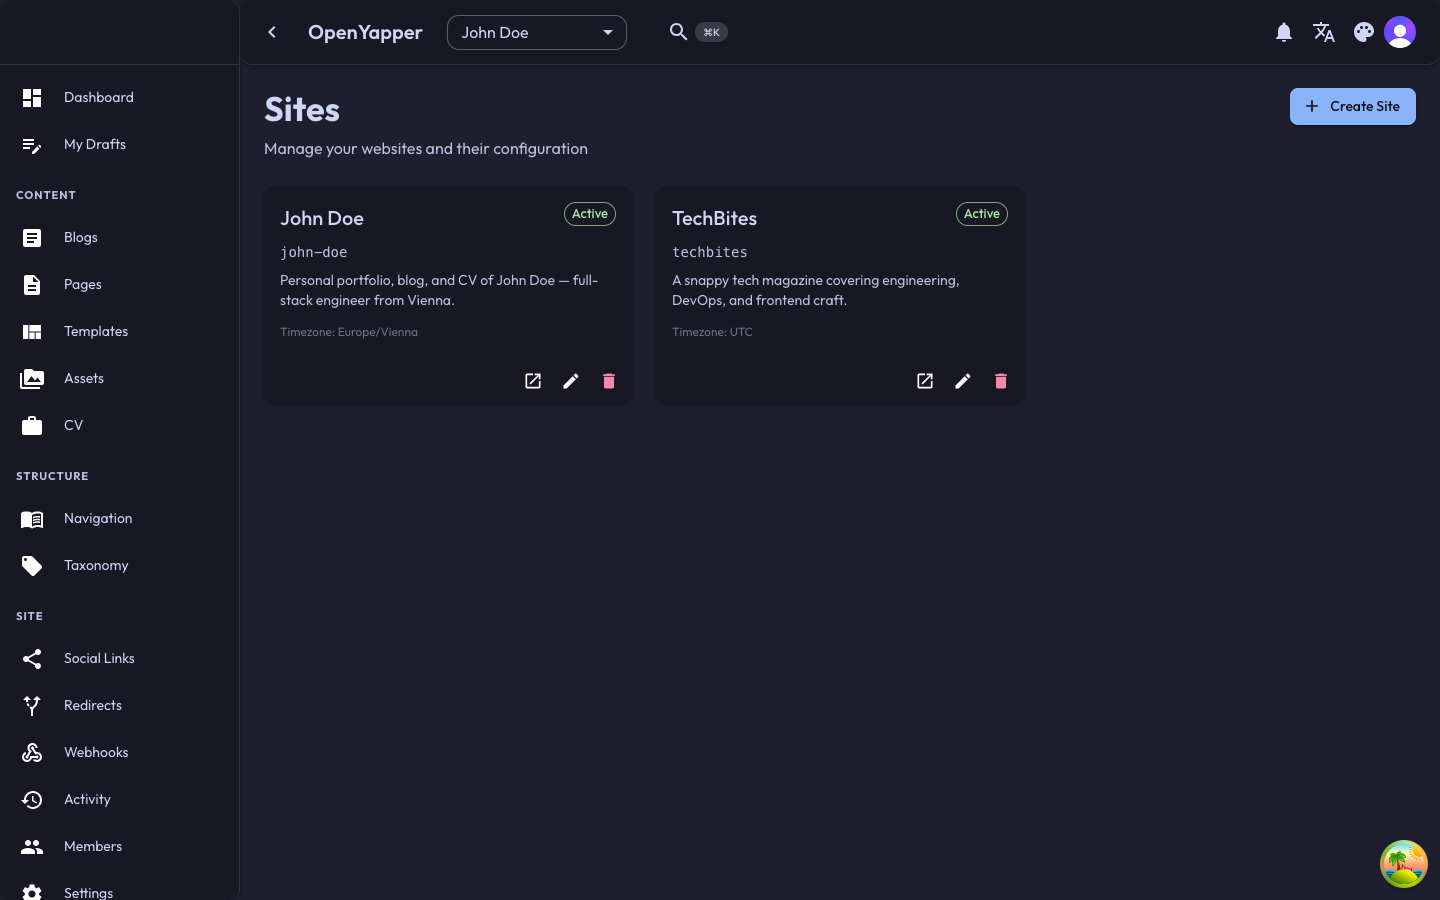
You can create multiple sites from a single Forja installation. Each site has its own content, languages, navigation, and settings. Use the site selector in the top bar to switch between them.
Step 4: Add Languages
Before creating content, set up the languages your site will support.
- Click Locales in the sidebar (or navigate to the Languages page).
- Click + Add Language in the top right.
- Select a language from the dropdown (e.g., English (en)).
- Repeat to add more languages as needed.
After adding languages, the page shows all configured locales with their code, name, native name, text direction, and status.
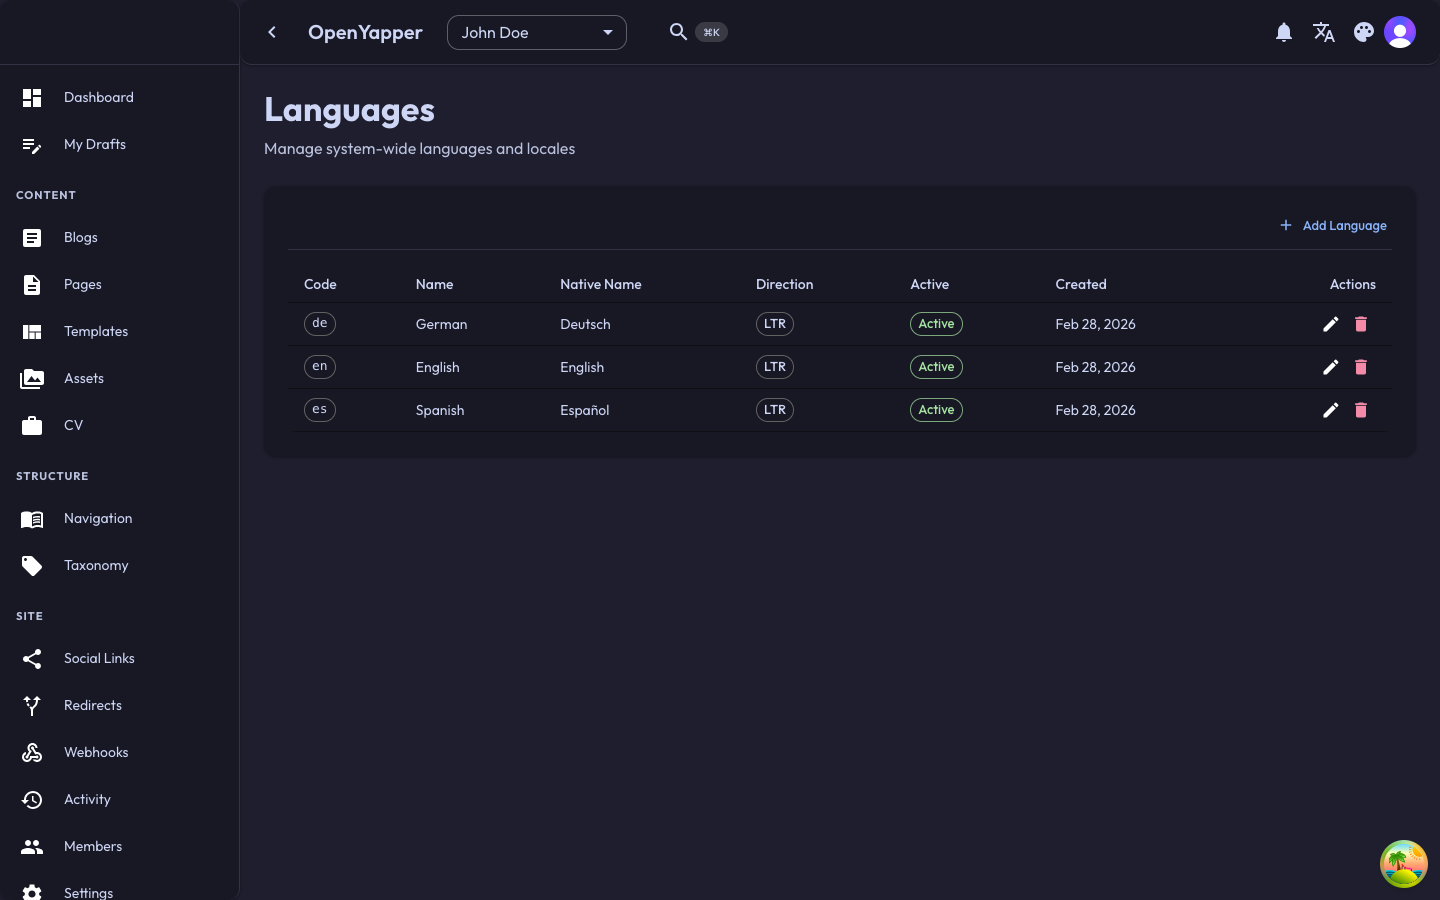
Each language you add enables content translation. You can write blog posts, pages, and navigation items in every configured language. Add at least one language before creating content.
Step 5: Configure Site Settings
- Click Settings in the sidebar.
- The Settings page has multiple tabs for different configuration areas:
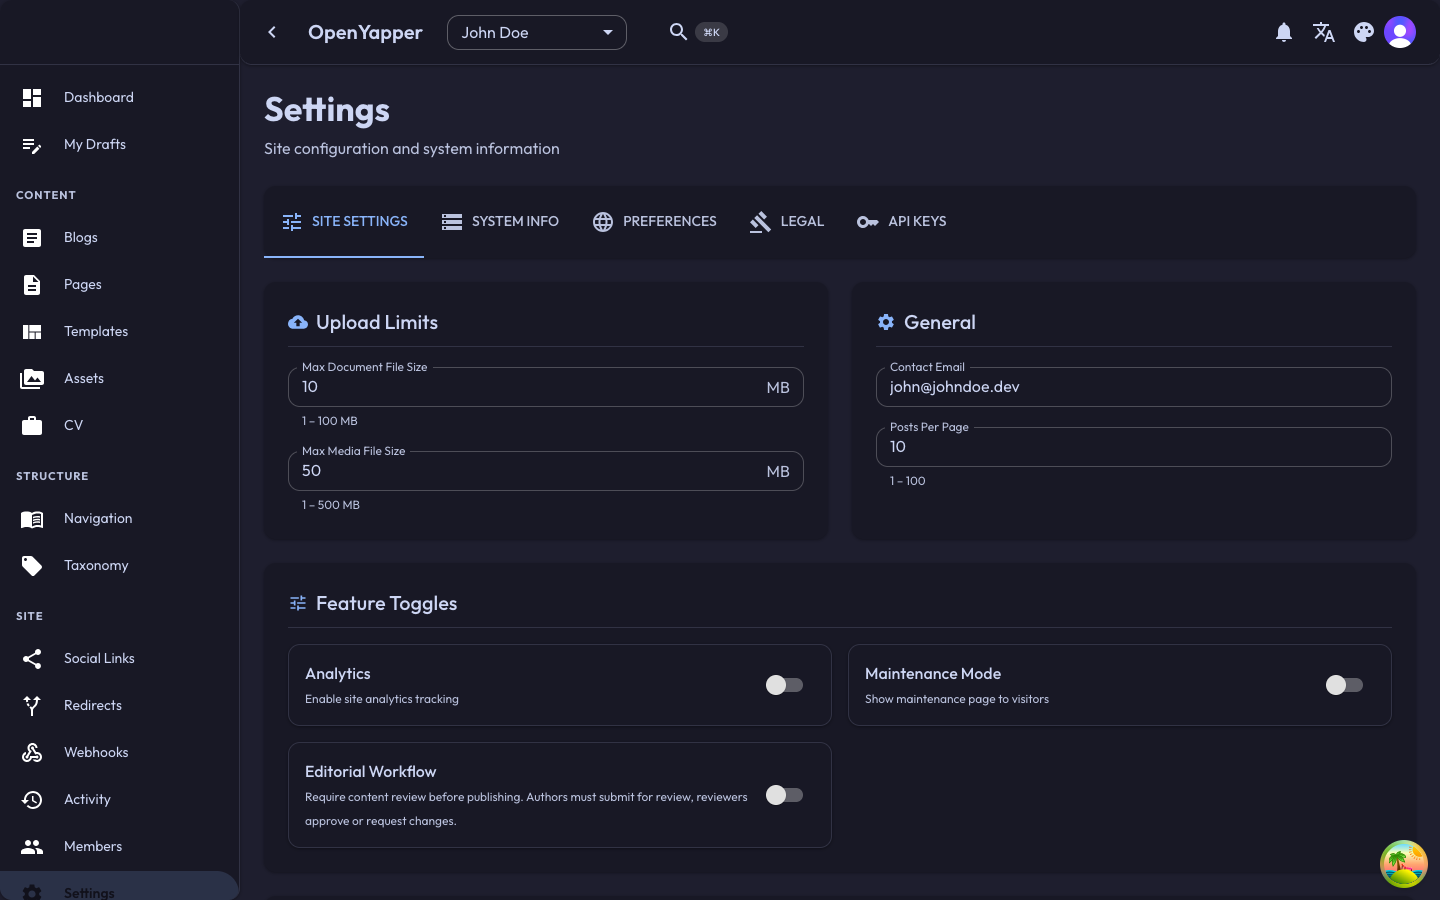
Under Site Settings, configure:
| Section | What to configure |
|---|---|
| Upload Limits | Maximum file sizes for documents and media uploads |
| General | Contact email and posts per page |
| Feature Toggles | Enable/disable Analytics, Maintenance Mode, and Editorial Workflow |
Additional tabs:
- System Info -- view system health, database status, and version information
- Preferences -- configure display preferences and UI settings
- Legal -- manage legal pages (privacy policy, terms of service)
- API Keys -- create API keys for frontend integration
Step 6: Write Your First Blog Post
- Click Blogs in the sidebar.
- Click + Create Blog in the top right.
- Fill in the blog post details:
- Title -- the headline of your post
- Slug -- the URL path (auto-generated from title, but editable)
- Content -- write your post using the rich text editor
- Excerpt -- a short summary shown in blog listings
- Cover image -- select or upload an image from the media library
- Tags -- assign tags for categorization
- Status -- set to Draft while writing, then change to Published when ready
- Click Save to create the post.
Once you have blog posts, the Blogs page shows them in a table with status, author, and publication date:
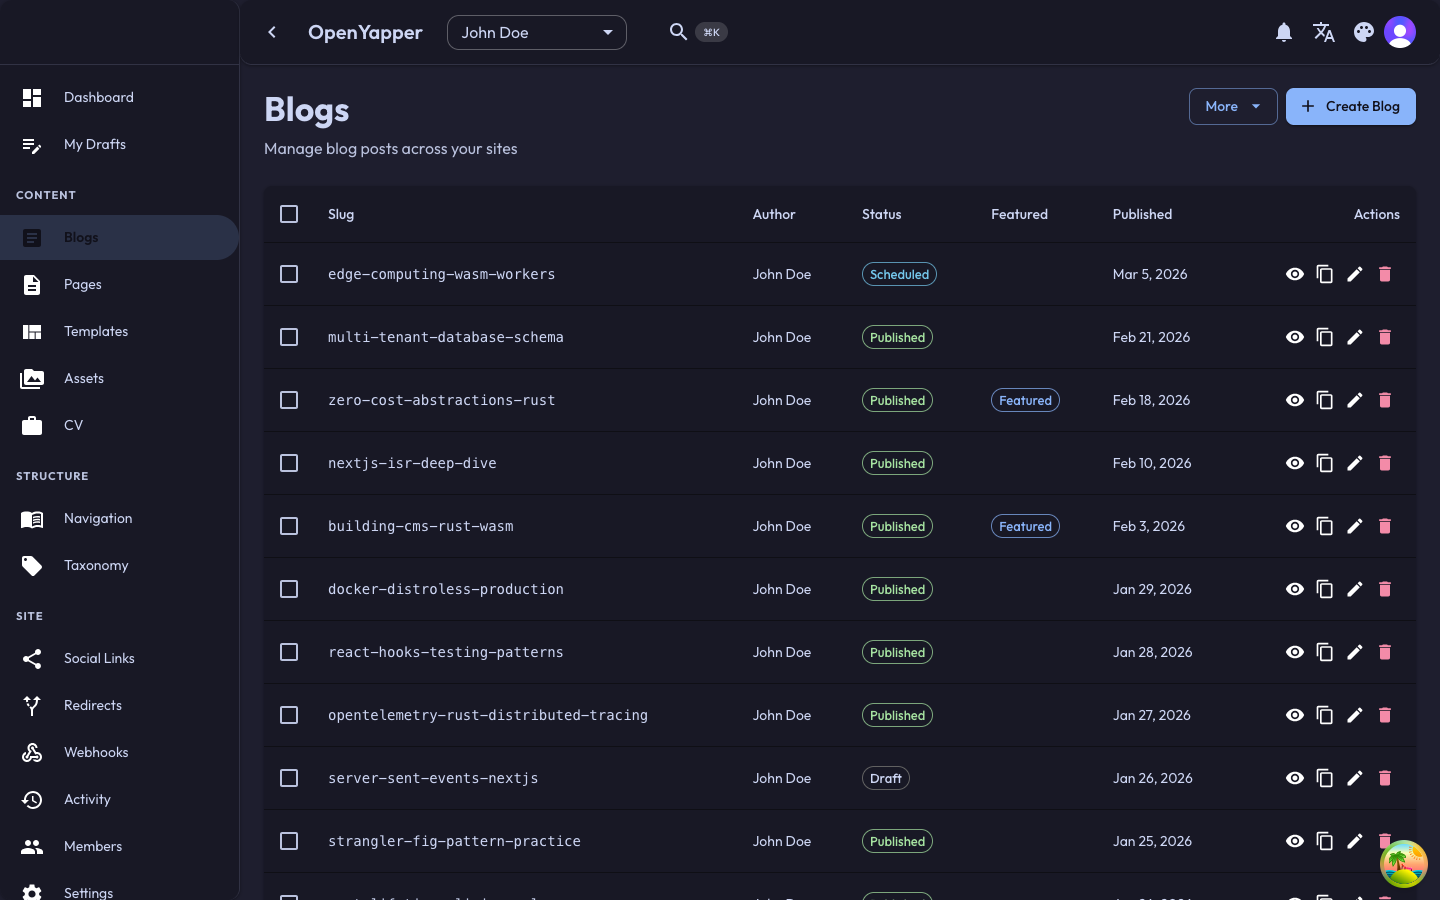
Use the More dropdown next to the Create button to access bulk actions like importing posts or exporting data.
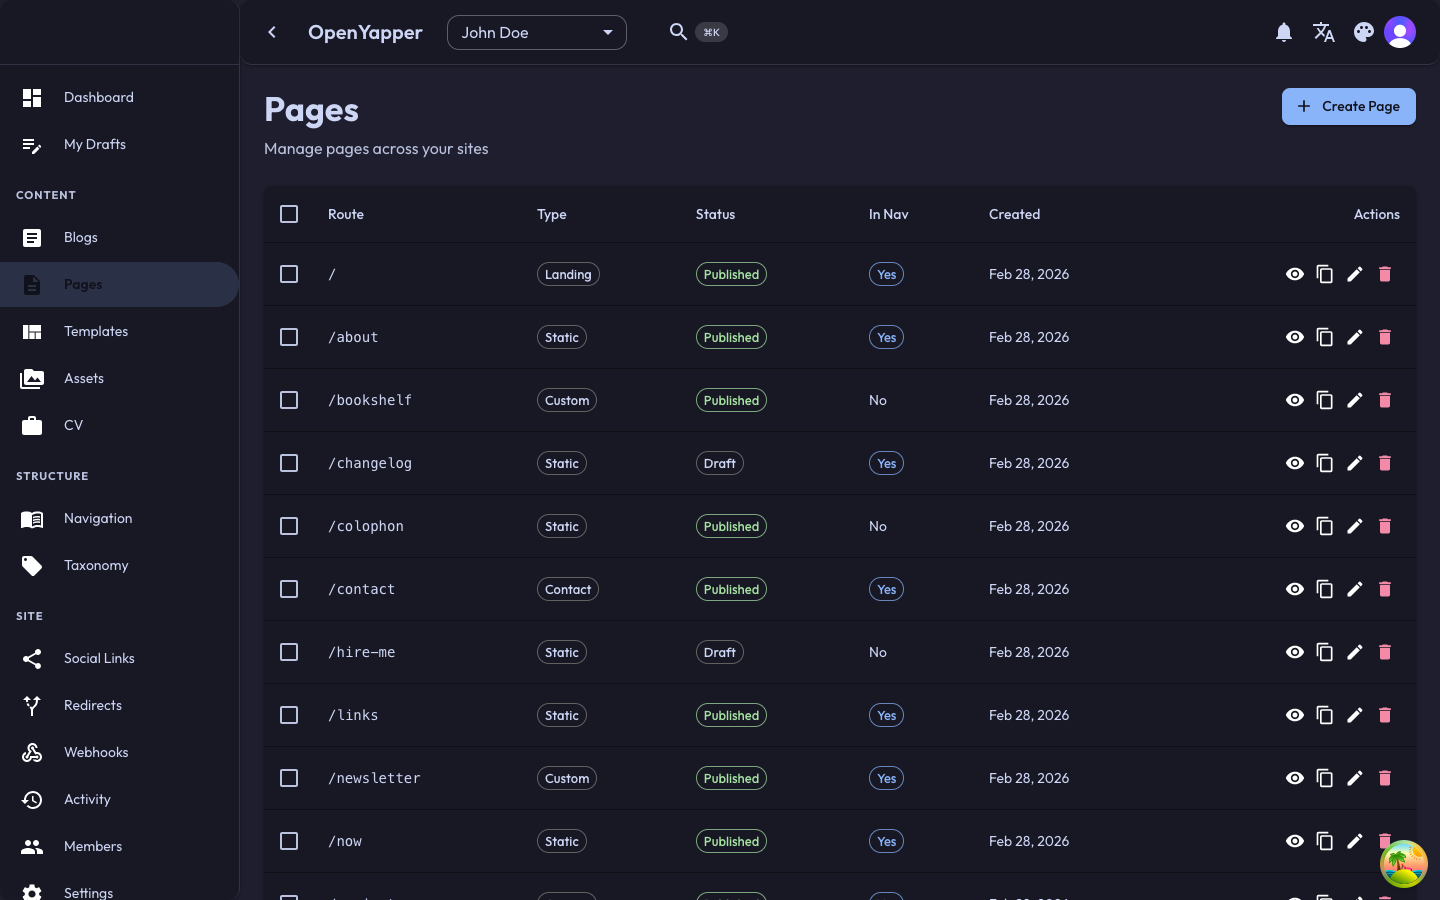
Step 7: Create Pages
- Click Pages in the sidebar.
- Click + Create Page.
- Pages are designed for static content like "About", "Contact", or "Services".
- Each page has:
- Route -- the URL path (e.g.,
/about,/contact) - Type -- Landing, Static, Contact, or Custom
- Sections -- pages can have multiple content sections, each with its own localized content
- Status -- Draft, Published, or other workflow states
- In Nav -- whether the page appears in navigation menus
- Route -- the URL path (e.g.,
After creating pages, they appear in the list:
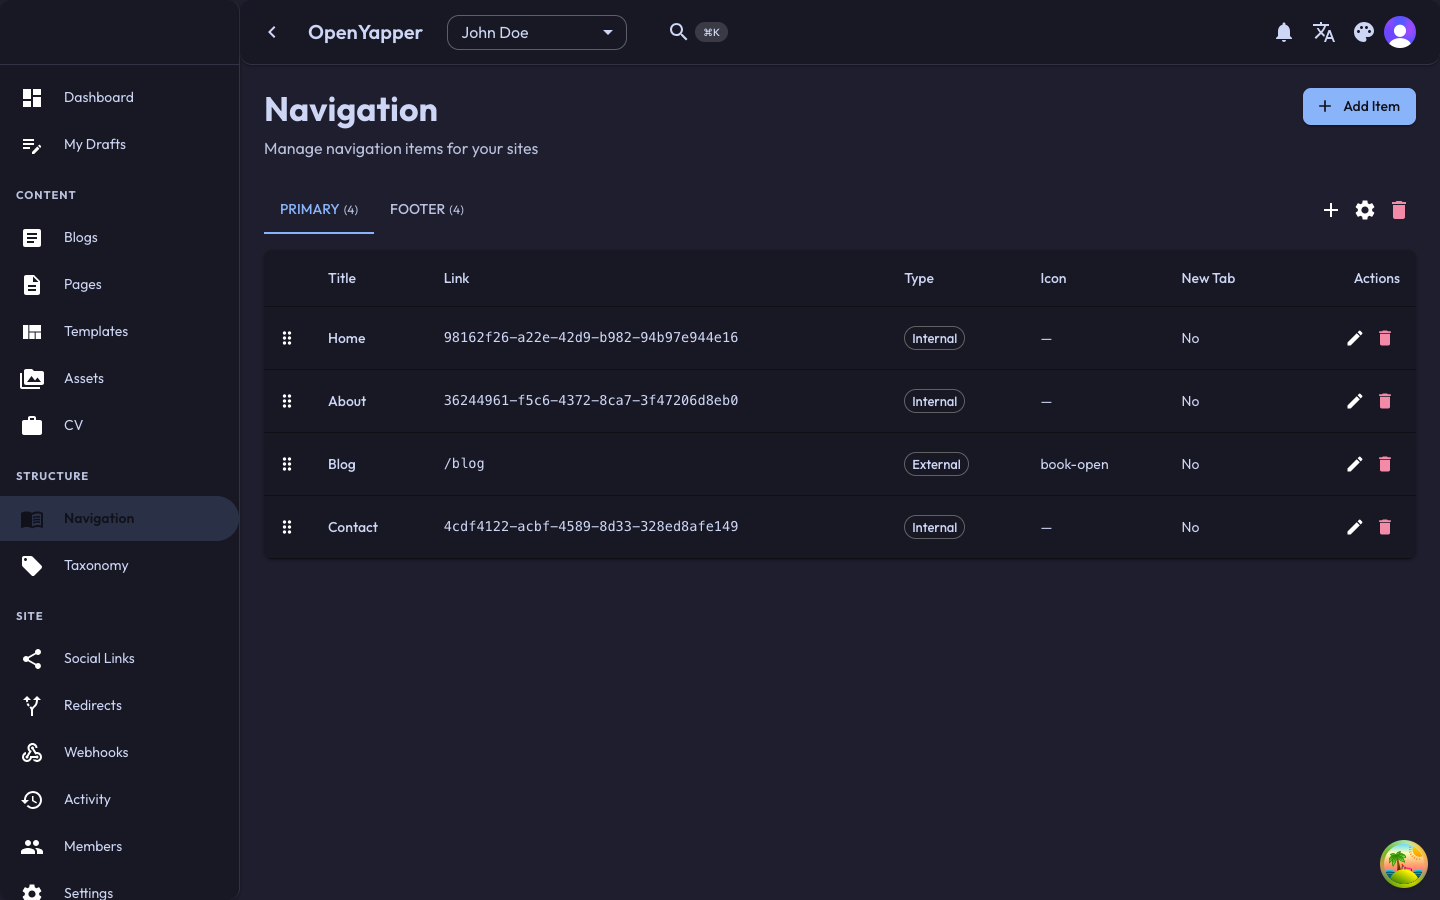
Step 8: Set Up Navigation
- Click Navigation in the sidebar.
- You will see tabs for different menu types (e.g., Primary, Footer).
- Click the + button to create navigation entries.
- For each item, specify:
- Title -- the display text (e.g., "Home", "About", "Blog")
- Link -- a page ID (internal) or URL (external)
- Type -- Internal (links to a CMS page) or External (any URL)
- Icon -- optional icon identifier
- New Tab -- whether to open the link in a new browser tab
- Use the grip handle on the left to drag and reorder items.
Navigation menus are served via the API and can be consumed by any frontend. Internal links reference page IDs so they stay valid even if you change a page's route.
Step 9: Upload Media
- Click Assets in the sidebar.
- Click + Upload File to add images, videos, or documents.
- Files are organized into folders (e.g., "Blog Covers", "Logos").
- Click New Folder in the left panel to create folders.
- Uploaded media can be referenced from blog posts, pages, and site settings.
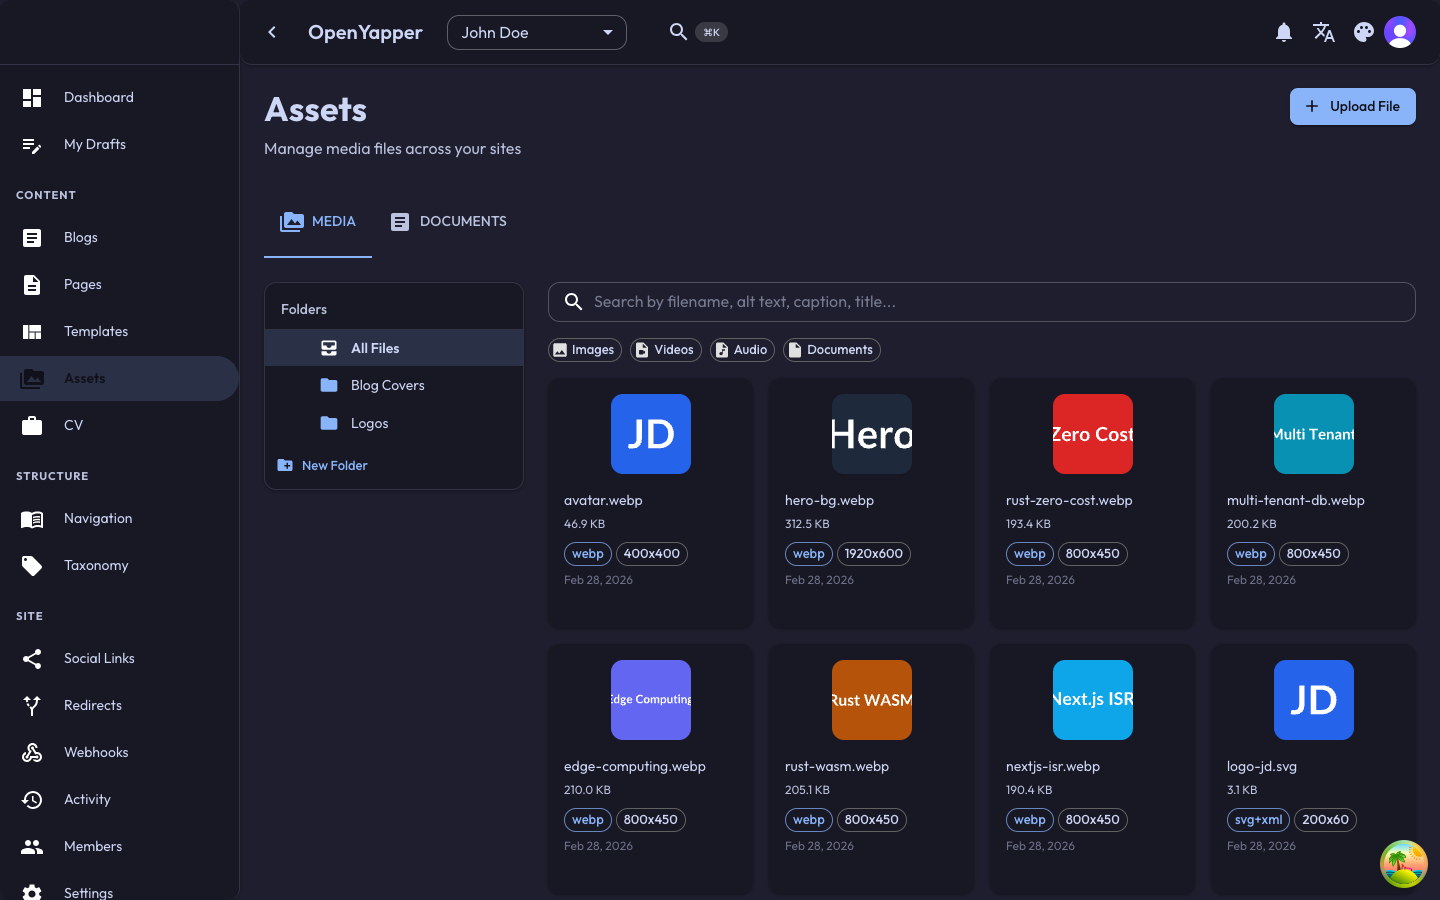
The media library supports filtering by type (Images, Videos, Audio, Documents) and searching by filename, alt text, caption, or title.
Step 10: Check Your Progress
As you complete each step, the dashboard tracks your progress with a setup checklist. Navigate back to Dashboard to see how far you've come.
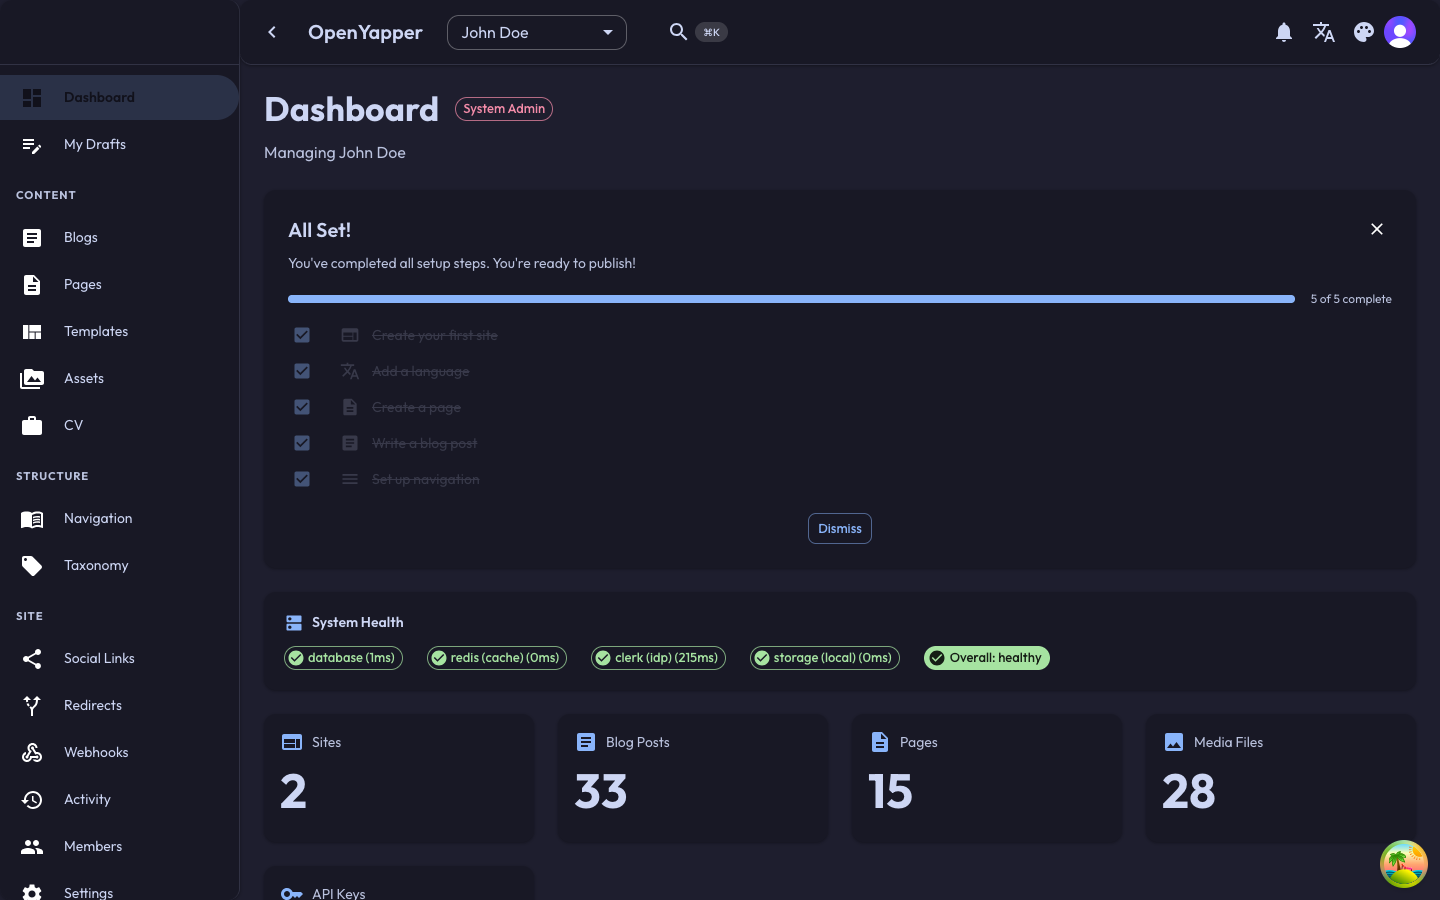
The checklist tracks five key milestones:
| Step | Description |
|---|---|
| Create your first site | Set up at least one site to manage |
| Add a language | Configure at least one locale |
| Create a page | Add your first static page |
| Write a blog post | Publish your first blog entry |
| Set up navigation | Create at least one navigation menu item |
Once all steps are complete, you will see the All Set! banner with a full progress bar, along with statistics showing your content counts (sites, blog posts, pages, media files) and system health indicators.
What's Next?
Now that your site is set up with content, explore these features:
- Taxonomy -- organize content with categories and tags
- Social Links -- add links to your social profiles
- Webhooks -- get notified when content changes
- Redirects -- manage URL redirections
- API Keys -- create API keys for frontend integration
- Members -- invite team members to collaborate
- Content Templates -- create reusable content structures
- Command Palette -- quickly navigate with keyboard shortcuts