First Run
With Docker running and dependencies installed, you are ready to initialize the database, start the servers, and verify everything works.
1. Start Docker Services
If you have not already started the infrastructure:
docker compose -f docker-compose.dev.yaml up -d
Wait for PostgreSQL to accept connections:
docker exec forja-db pg_isready -U forja -d forja
# => /var/run/postgresql:5432 - accepting connections
2. Run Database Migrations
Apply all migrations to create the schema:
cd backend
sqlx migrate run
You should see output listing each applied migration. If you see "no migrations to run," the database is already up to date.
The convenience script handles both migrations and seeding in one step:
./scripts/dev-seed.sh
3. Seed Development Data
The seed script populates the database with sample sites, content, and development API keys:
./backend/scripts/dev_init.sh
This creates two sample sites, blog posts, pages, navigation menus, and -- most importantly -- three development API keys you can use immediately.
4. Start the Backend
cd backend
cargo run
The first build takes a few minutes while Rust compiles all dependencies. Subsequent builds are incremental and much faster. Once running, you will see:
🚀 Rocket has launched from http://0.0.0.0:8000
The backend is now available at http://localhost:8000.
5. Start the Admin Dashboard
In a separate terminal:
cd admin
npm run dev
The admin UI is available at http://localhost:5173.
6. Verify Your Setup
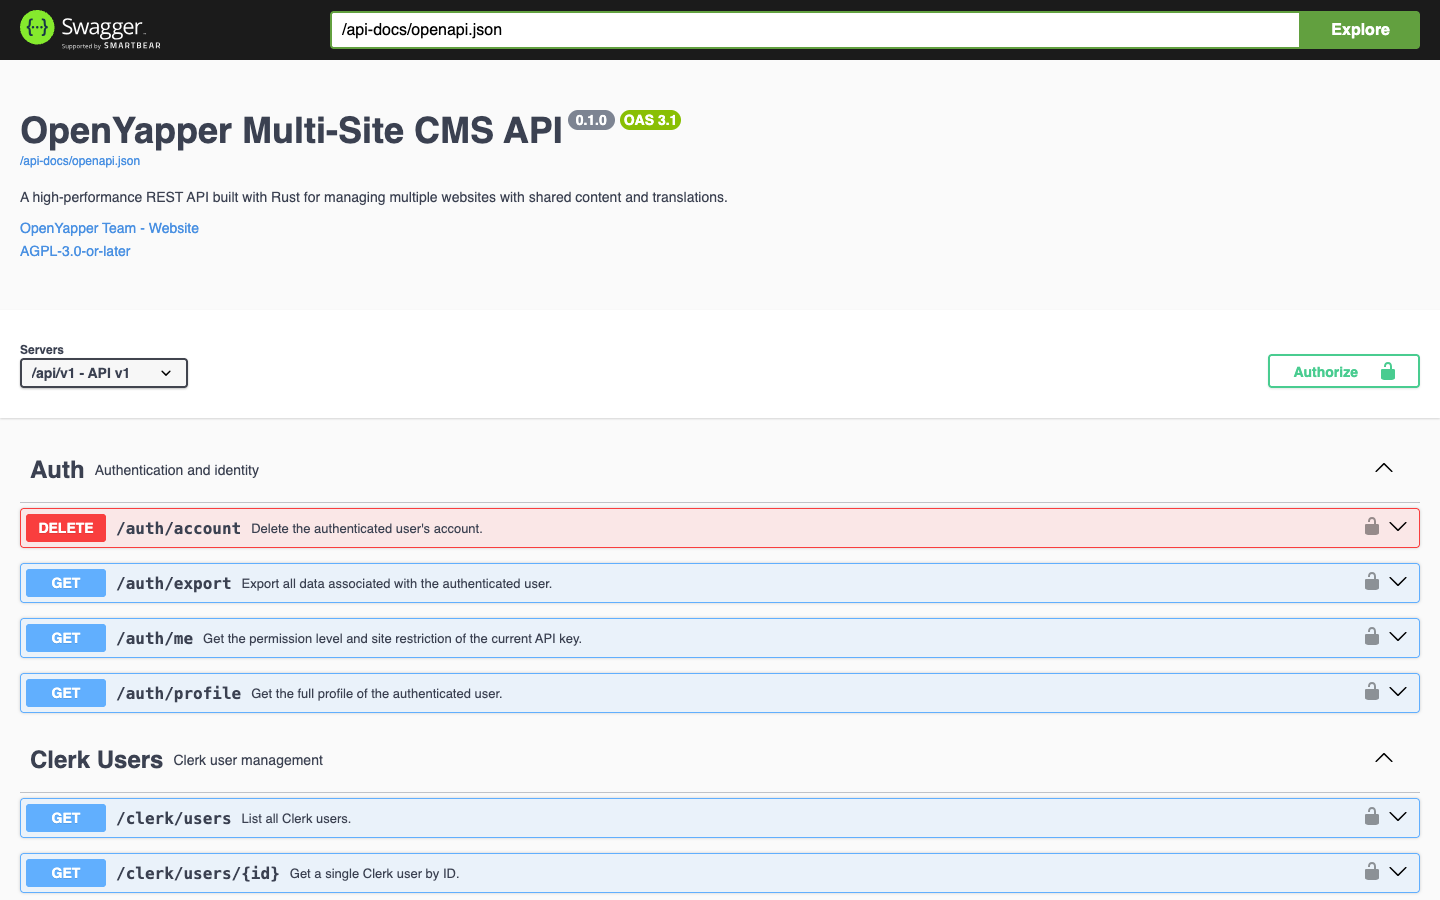
Swagger UI
Open http://localhost:8000/api-docs in your browser. You should see the full OpenAPI documentation with all available endpoints.
API Health Check
curl http://localhost:8000/api/v1/health
List Sites
Use one of the development API keys to list sites:
curl -H "X-API-Key: dk_devmast_00000000000000000000000000000000" \
     http://localhost:8000/api/v1/sites
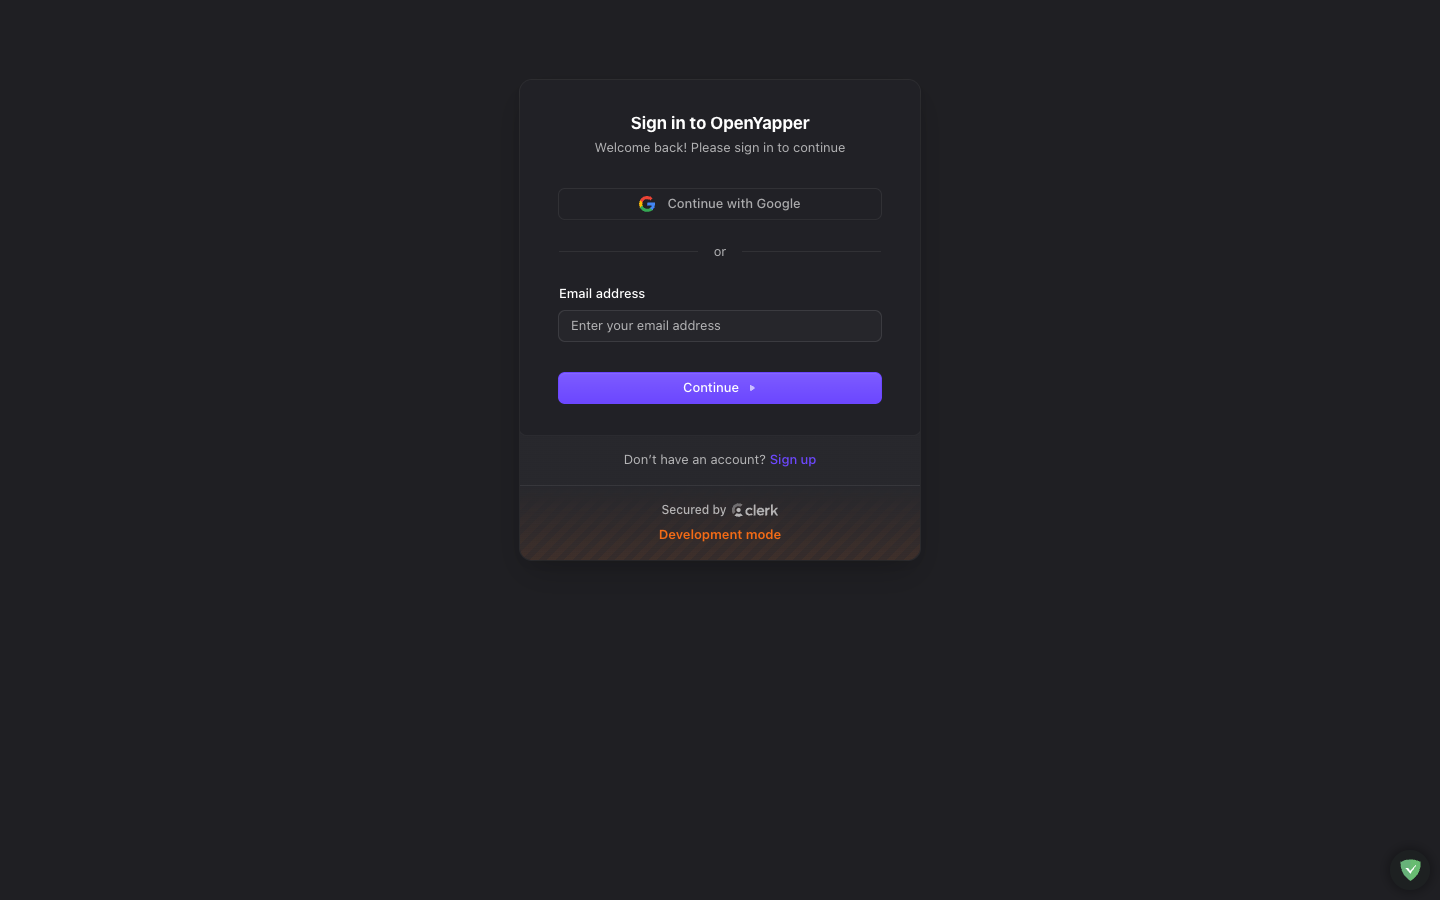
Admin Dashboard
Open http://localhost:5173/dashboard in your browser. If Clerk is configured, you will see a login screen. If not, you can still test the API directly using curl or the Swagger UI.
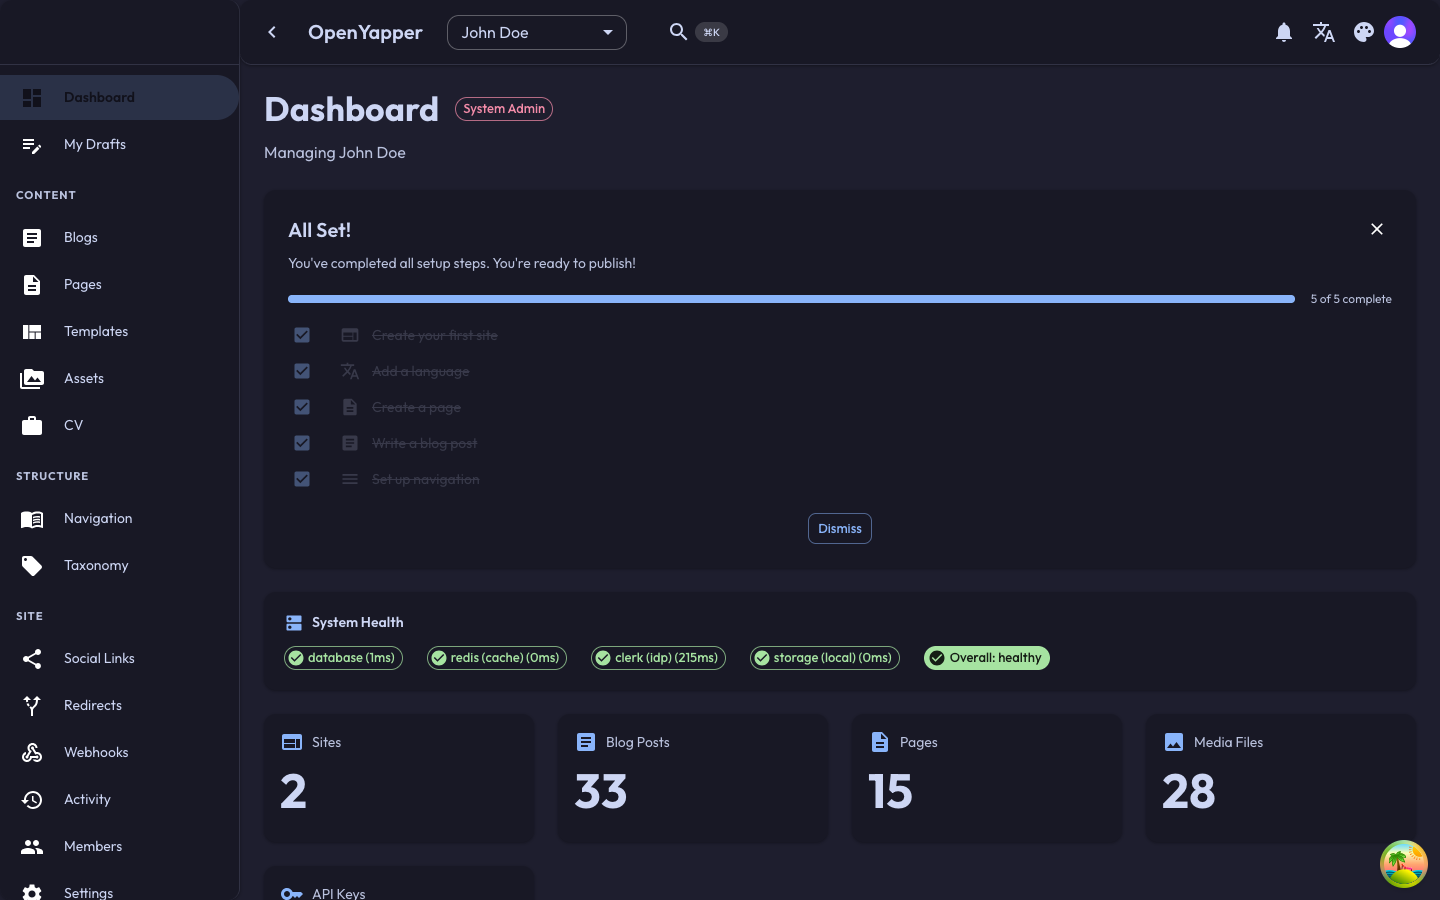
Once signed in, you'll see the main dashboard with system health status and content statistics:
Development API Keys
The seed script creates three API keys for local development. These keys are deterministic (the same every time you re-seed) so you can save them in your HTTP client or shell aliases.
| Key | Permission | Value |
|---|---|---|
| Master | Full access (CRUD + admin) | dk_devmast_00000000000000000000000000000000 |
| Read | Read-only access | dk_devread_00000000000000000000000000000000 |
| Write | Read + write access | dk_devwrit_00000000000000000000000000000000 |
Usage example:
# List all blog posts for a site
curl -H "X-API-Key: dk_devmast_00000000000000000000000000000000" \
     http://localhost:8000/api/v1/sites/{site_id}/blogs

# Create a new page (requires write or master key)
curl -X POST \
     -H "X-API-Key: dk_devwrit_00000000000000000000000000000000" \
     -H "Content-Type: application/json" \
     -d '{"title": "About", "slug": "about", "content": "Hello!"}' \
     http://localhost:8000/api/v1/sites/{site_id}/pages
These keys are for local development only. Never use them in production. In production, create proper API keys through the admin dashboard or the API.
All-in-One Start
If you want to start everything with a single command in the future:
# Seed (if needed) + start infra + backend + admin
./scripts/dev-seed.sh && ./scripts/dev-start.sh --all
Or, if the database is already seeded:
./scripts/dev-start.sh --all
Troubleshooting
Port already in use
If port 5432, 6379, or 8000 is already occupied, stop the conflicting service or change the port in docker-compose.dev.yaml / backend/.env.
SQLx migration errors
Make sure DATABASE_URL in backend/.env matches the Docker Compose credentials (forja:forja@localhost:5432/forja).
Cargo build failures
Run rustup update to ensure you have the latest stable toolchain. The project requires Rust 1.75+.
Admin dashboard not loading
Check that npm install completed without errors in the admin/ directory. If you see module-not-found errors, delete node_modules and reinstall:
cd admin && rm -rf node_modules && npm install
Next Steps
- Configuration -- full reference of all environment variables.
- Admin Guide -- start managing content through the dashboard.
- Site Modules -- learn how to enable or disable features per site.
- AI Content Assist -- set up AI-powered content generation.